Direct Seeding a Cottage Garden:
A Simple, Science-Backed Guide

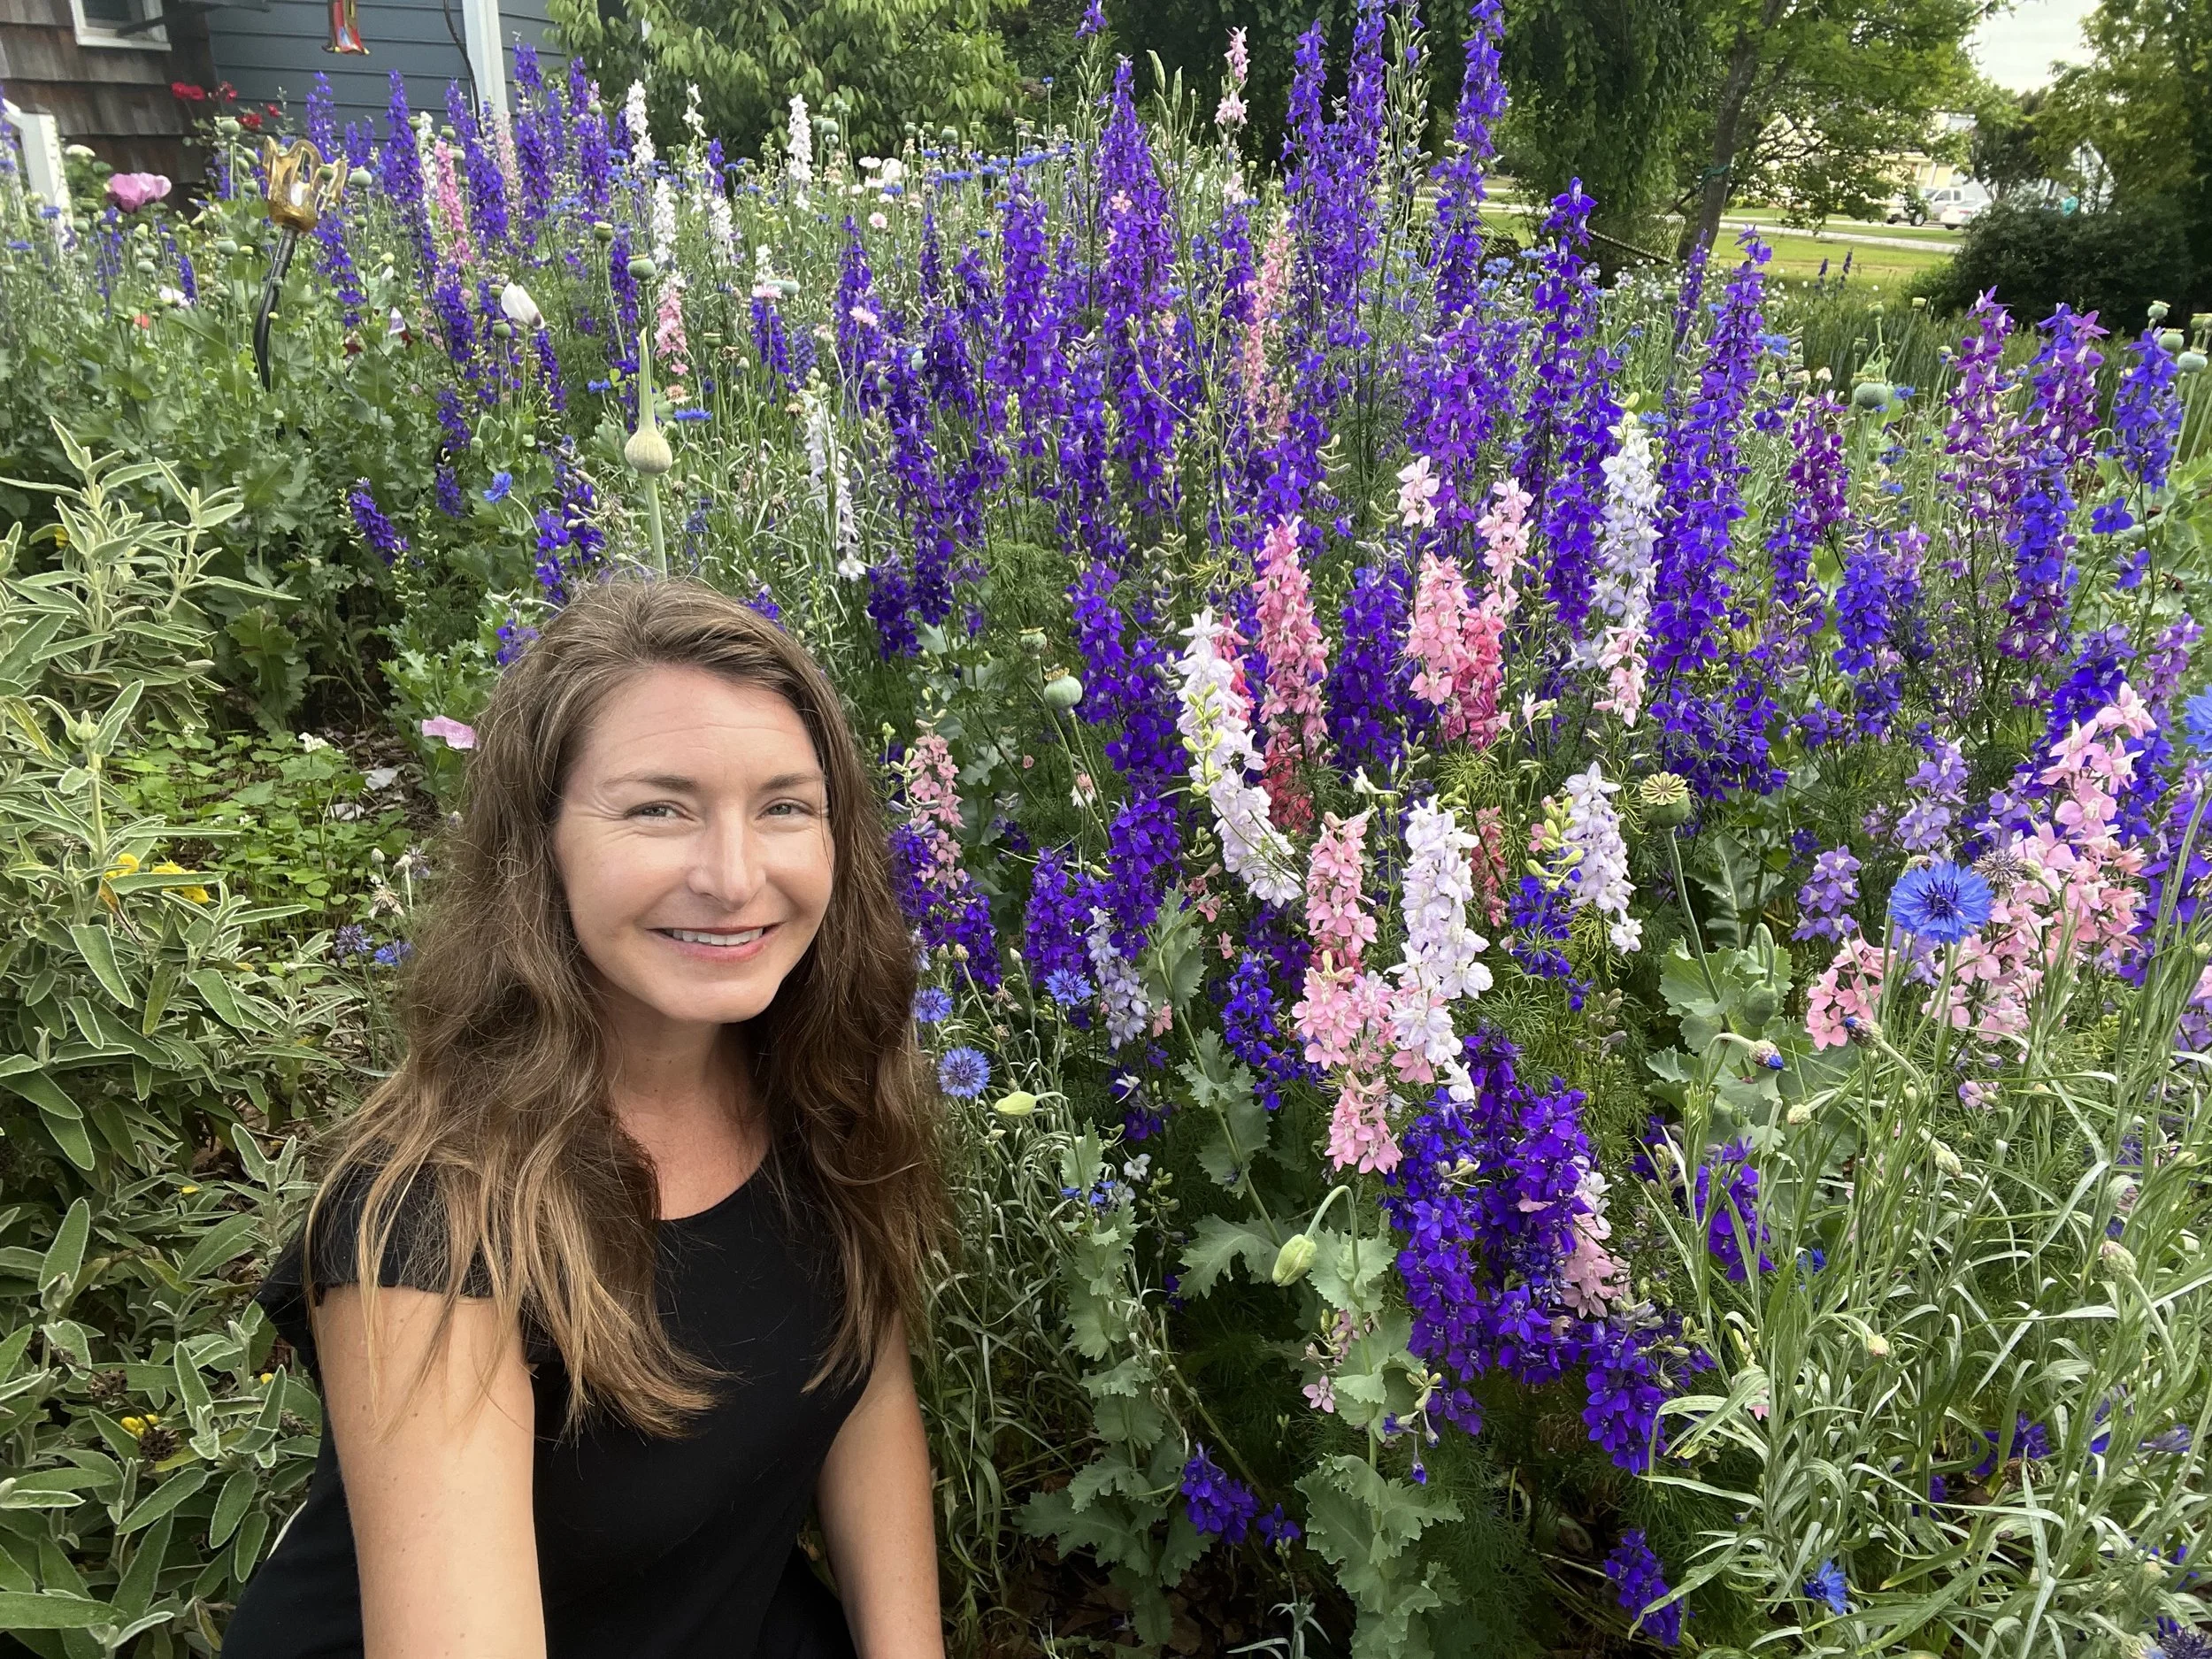
One of the easiest and most rewarding ways to create a lush, flower-filled cottage garden is by direct seeding hardy annuals. These cool-season plants include poppies, larkspur, nigella, grains, bachelor buttons, calendula, and more. Everything germinates best when exposed to natural winter conditions, which is why I recommend this method between December- February. In North Carolina, our mild winters and consistent moisture create ideal conditions for this low-effort, high-impact style of gardening. By letting nature handle the cold stratification, rainfall, and daylength cues, you can grow sweeping drifts of color without needing a grow light or seed trays.
Direct seeding also mirrors natural plant cycles. Annuals evolved to drop seed, overwinter as tiny rosettes, and burst into bloom in spring. When we mimic that rhythm, the plants grow stronger root systems, require less irrigation, and tend to be more resistant to disease and stress. It’s a technique I highlight often because it works reliably, affordably, and beautifully.
If you are a learn from watching kind of person, check out my extensive playlist on this subject by clicking the button below. I have also added videos to support each step of the cottage gardening experience to make this approach to growing that much easier!
How to Direct Seed a Cottage Garden
1. Choose the right seeds
Select hardy annuals that thrive in cool weather and tolerate winter nights. My go-to FLOWER mix includes:
Bachelor Buttons (Centaurea cyanus)
Calendula (Calendula officinalis)
Larkspur (Consolida ajacis)
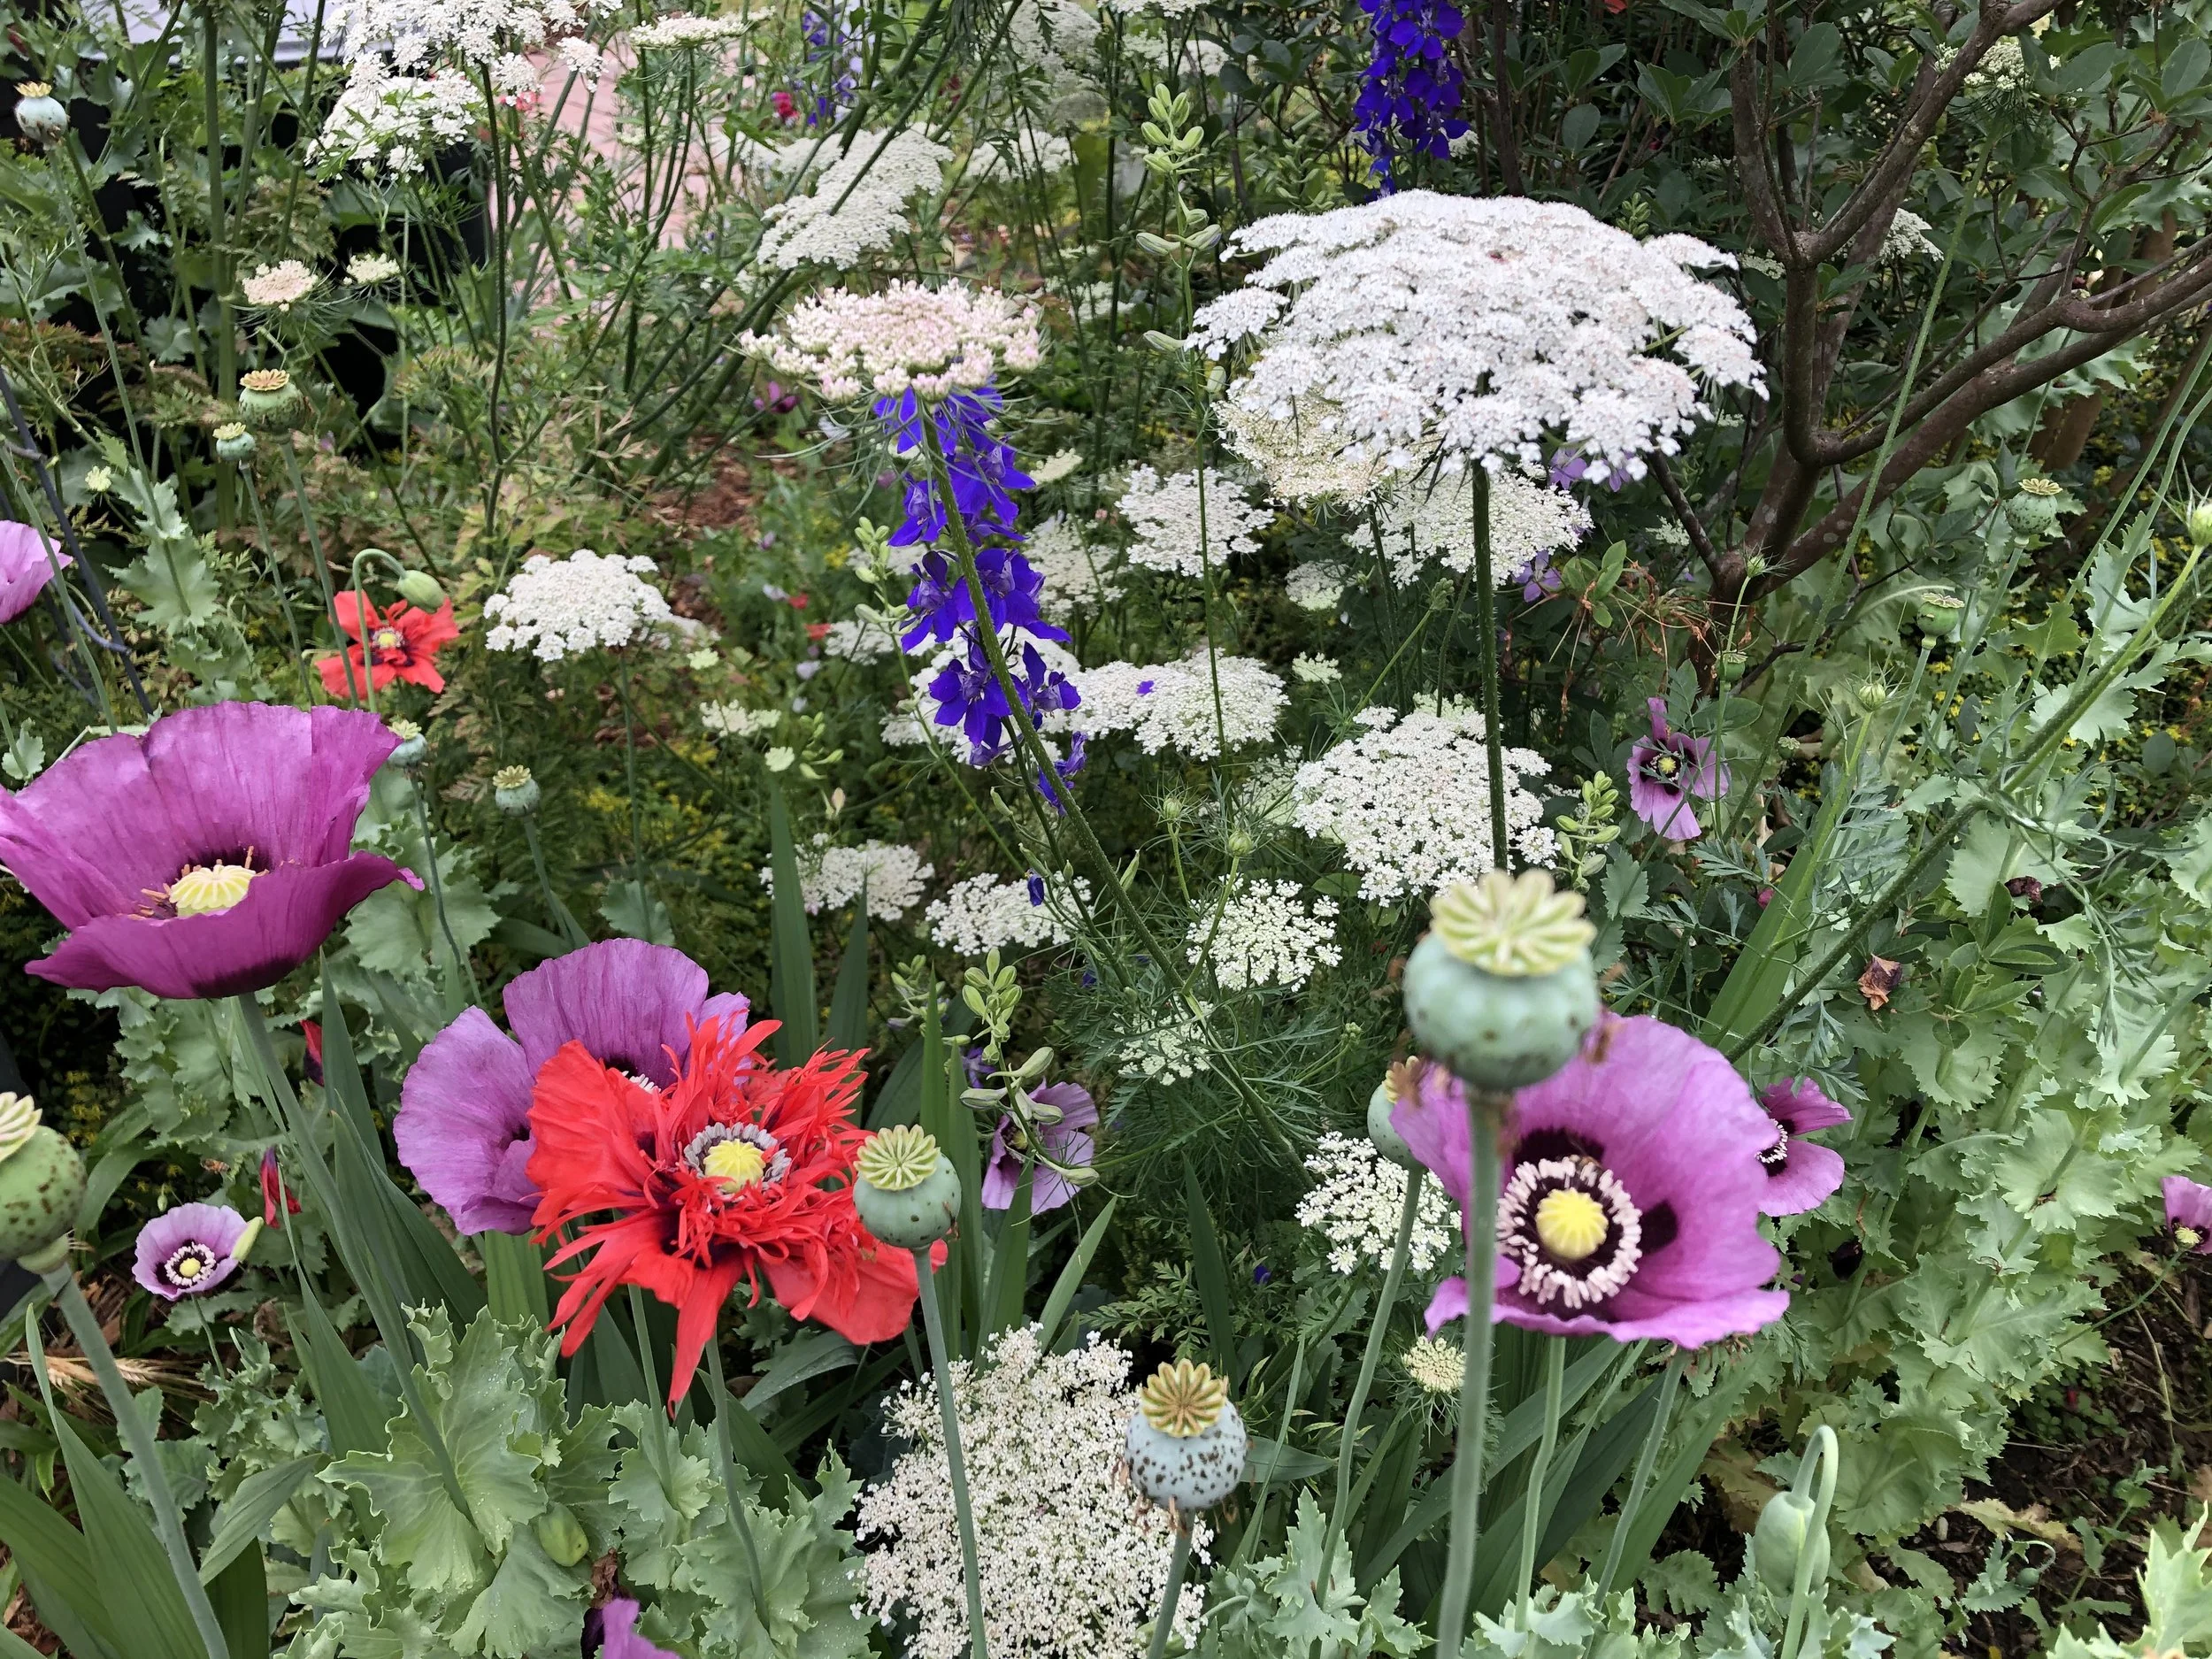
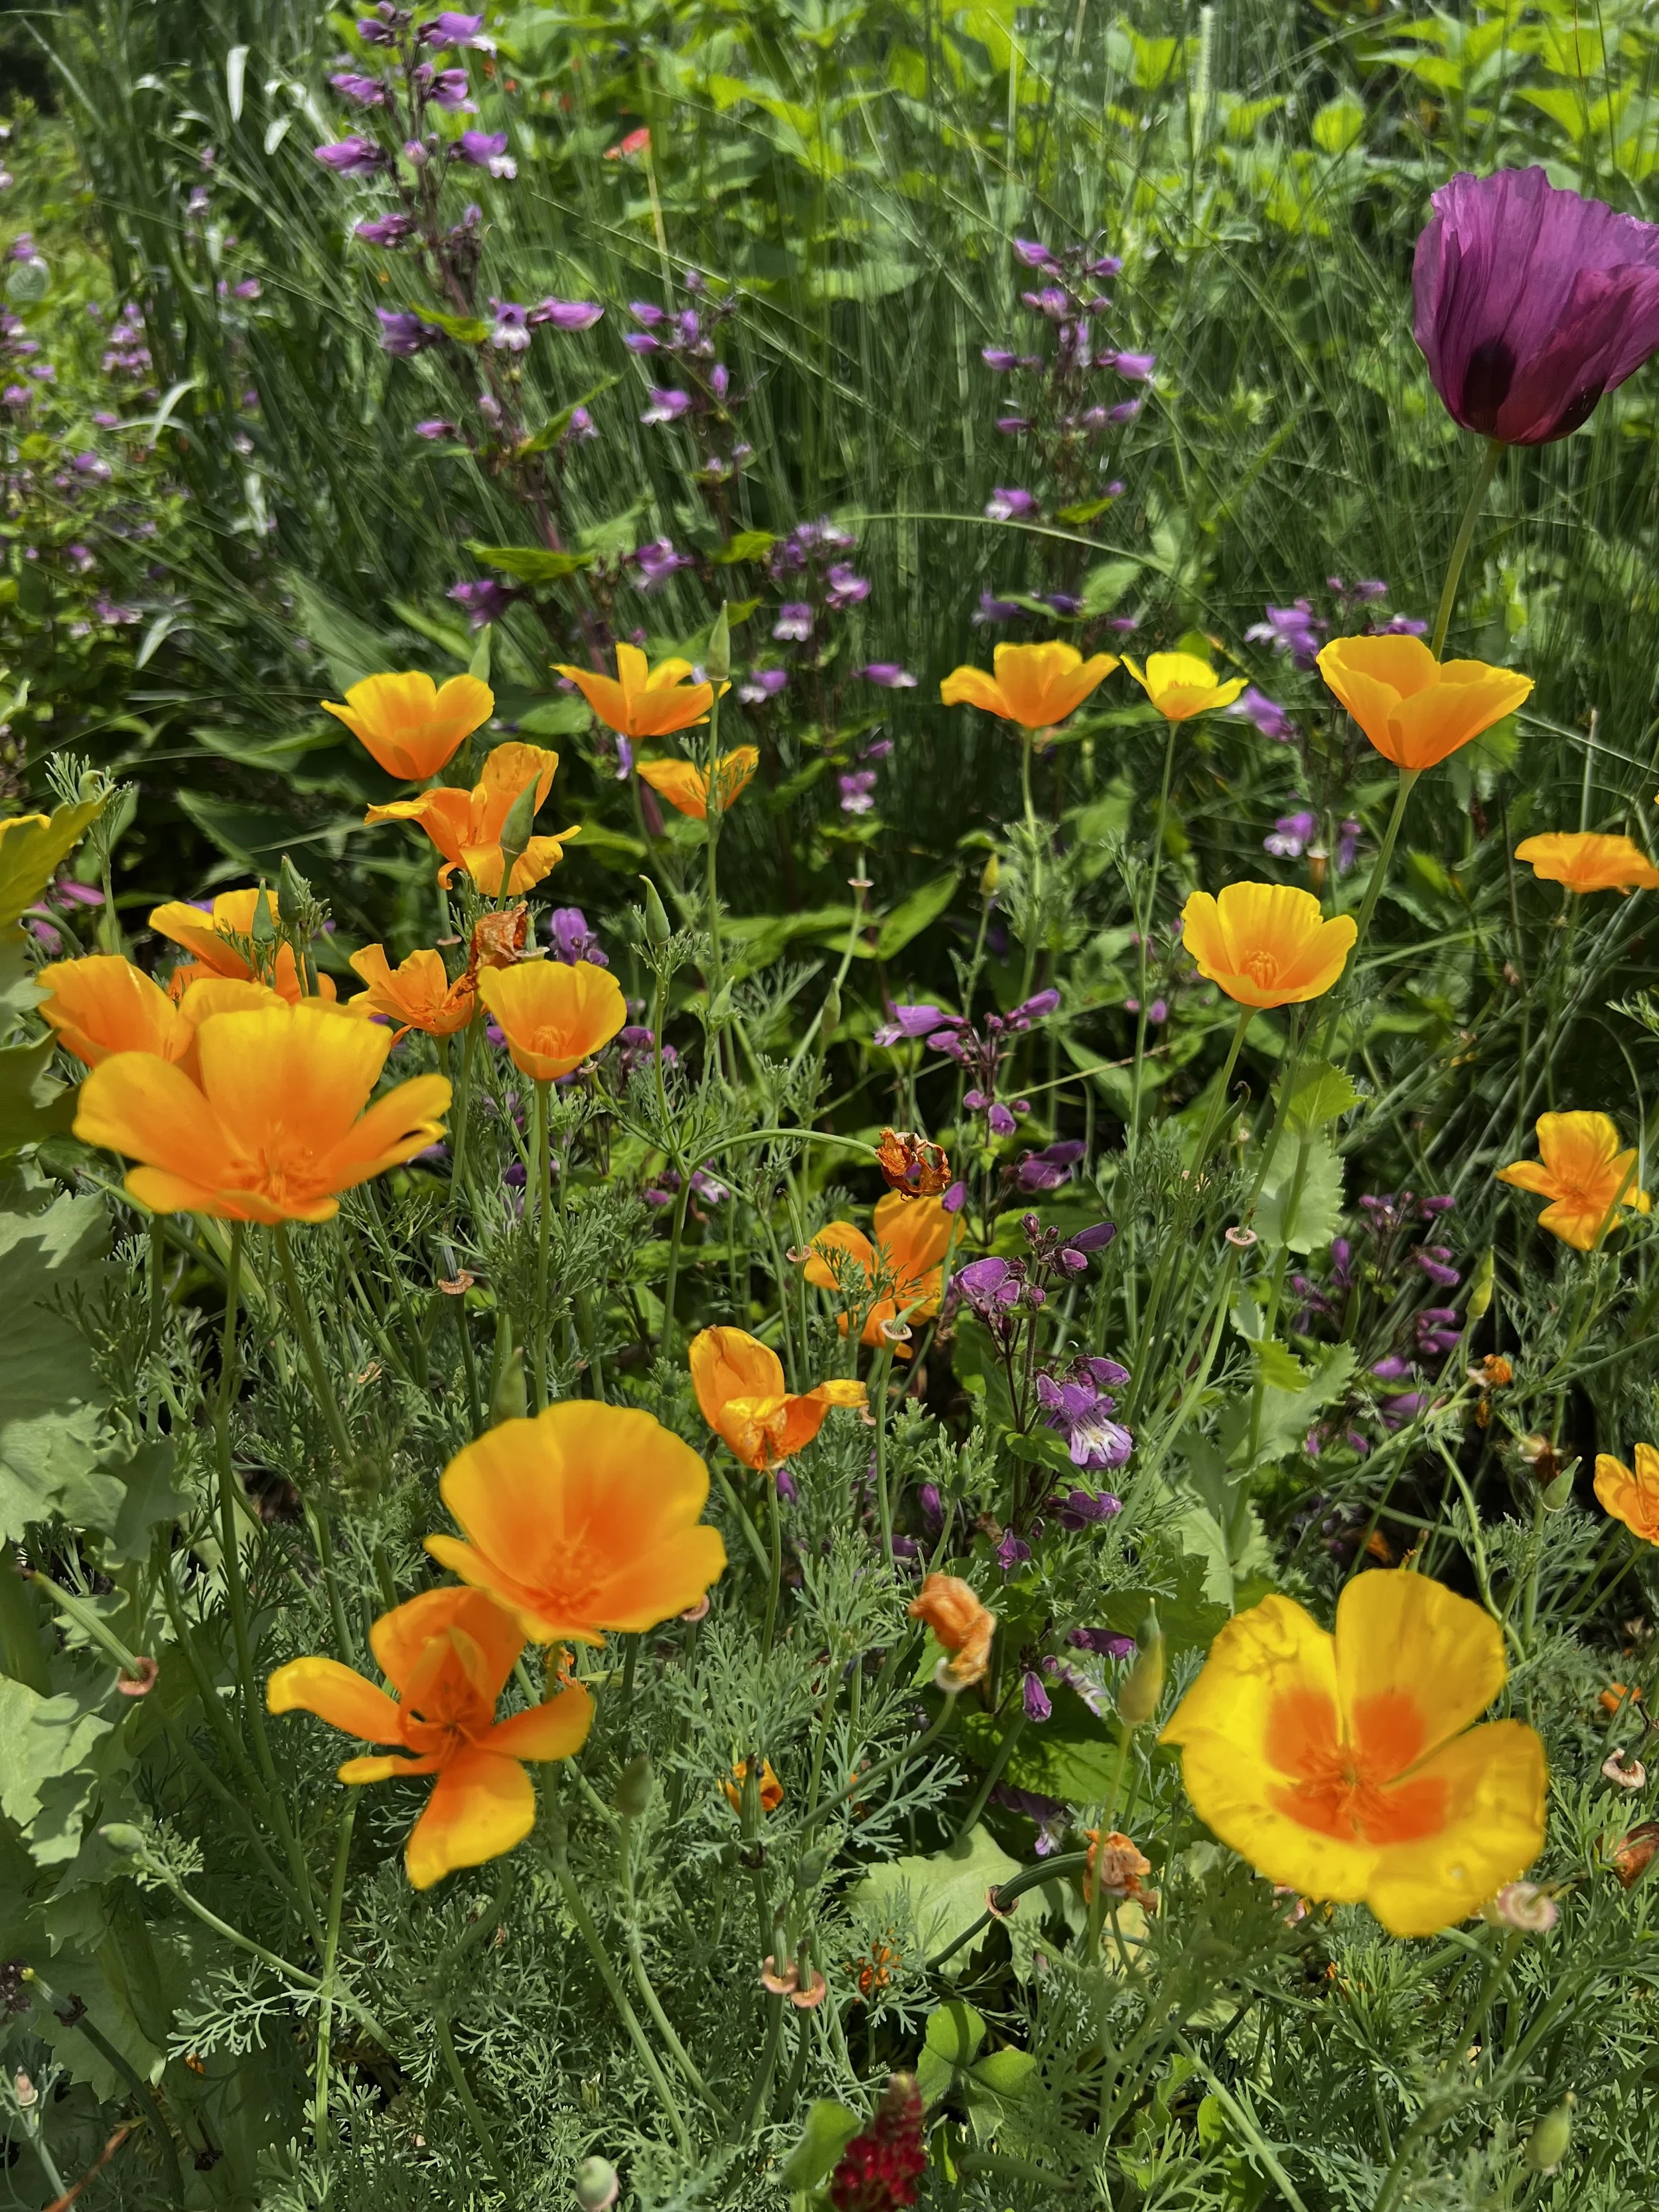
Poppies (Papaver somniferum & P. rhoeas, Eschscholzia californica)
Nigella (Nigella damascena)
These EDIBLES will germinate well in cool soil and tolerate winter temperature fluctuations. They also look great mixed with the flowering species.
Arugula
Carrots
Daikon radish
Garlic
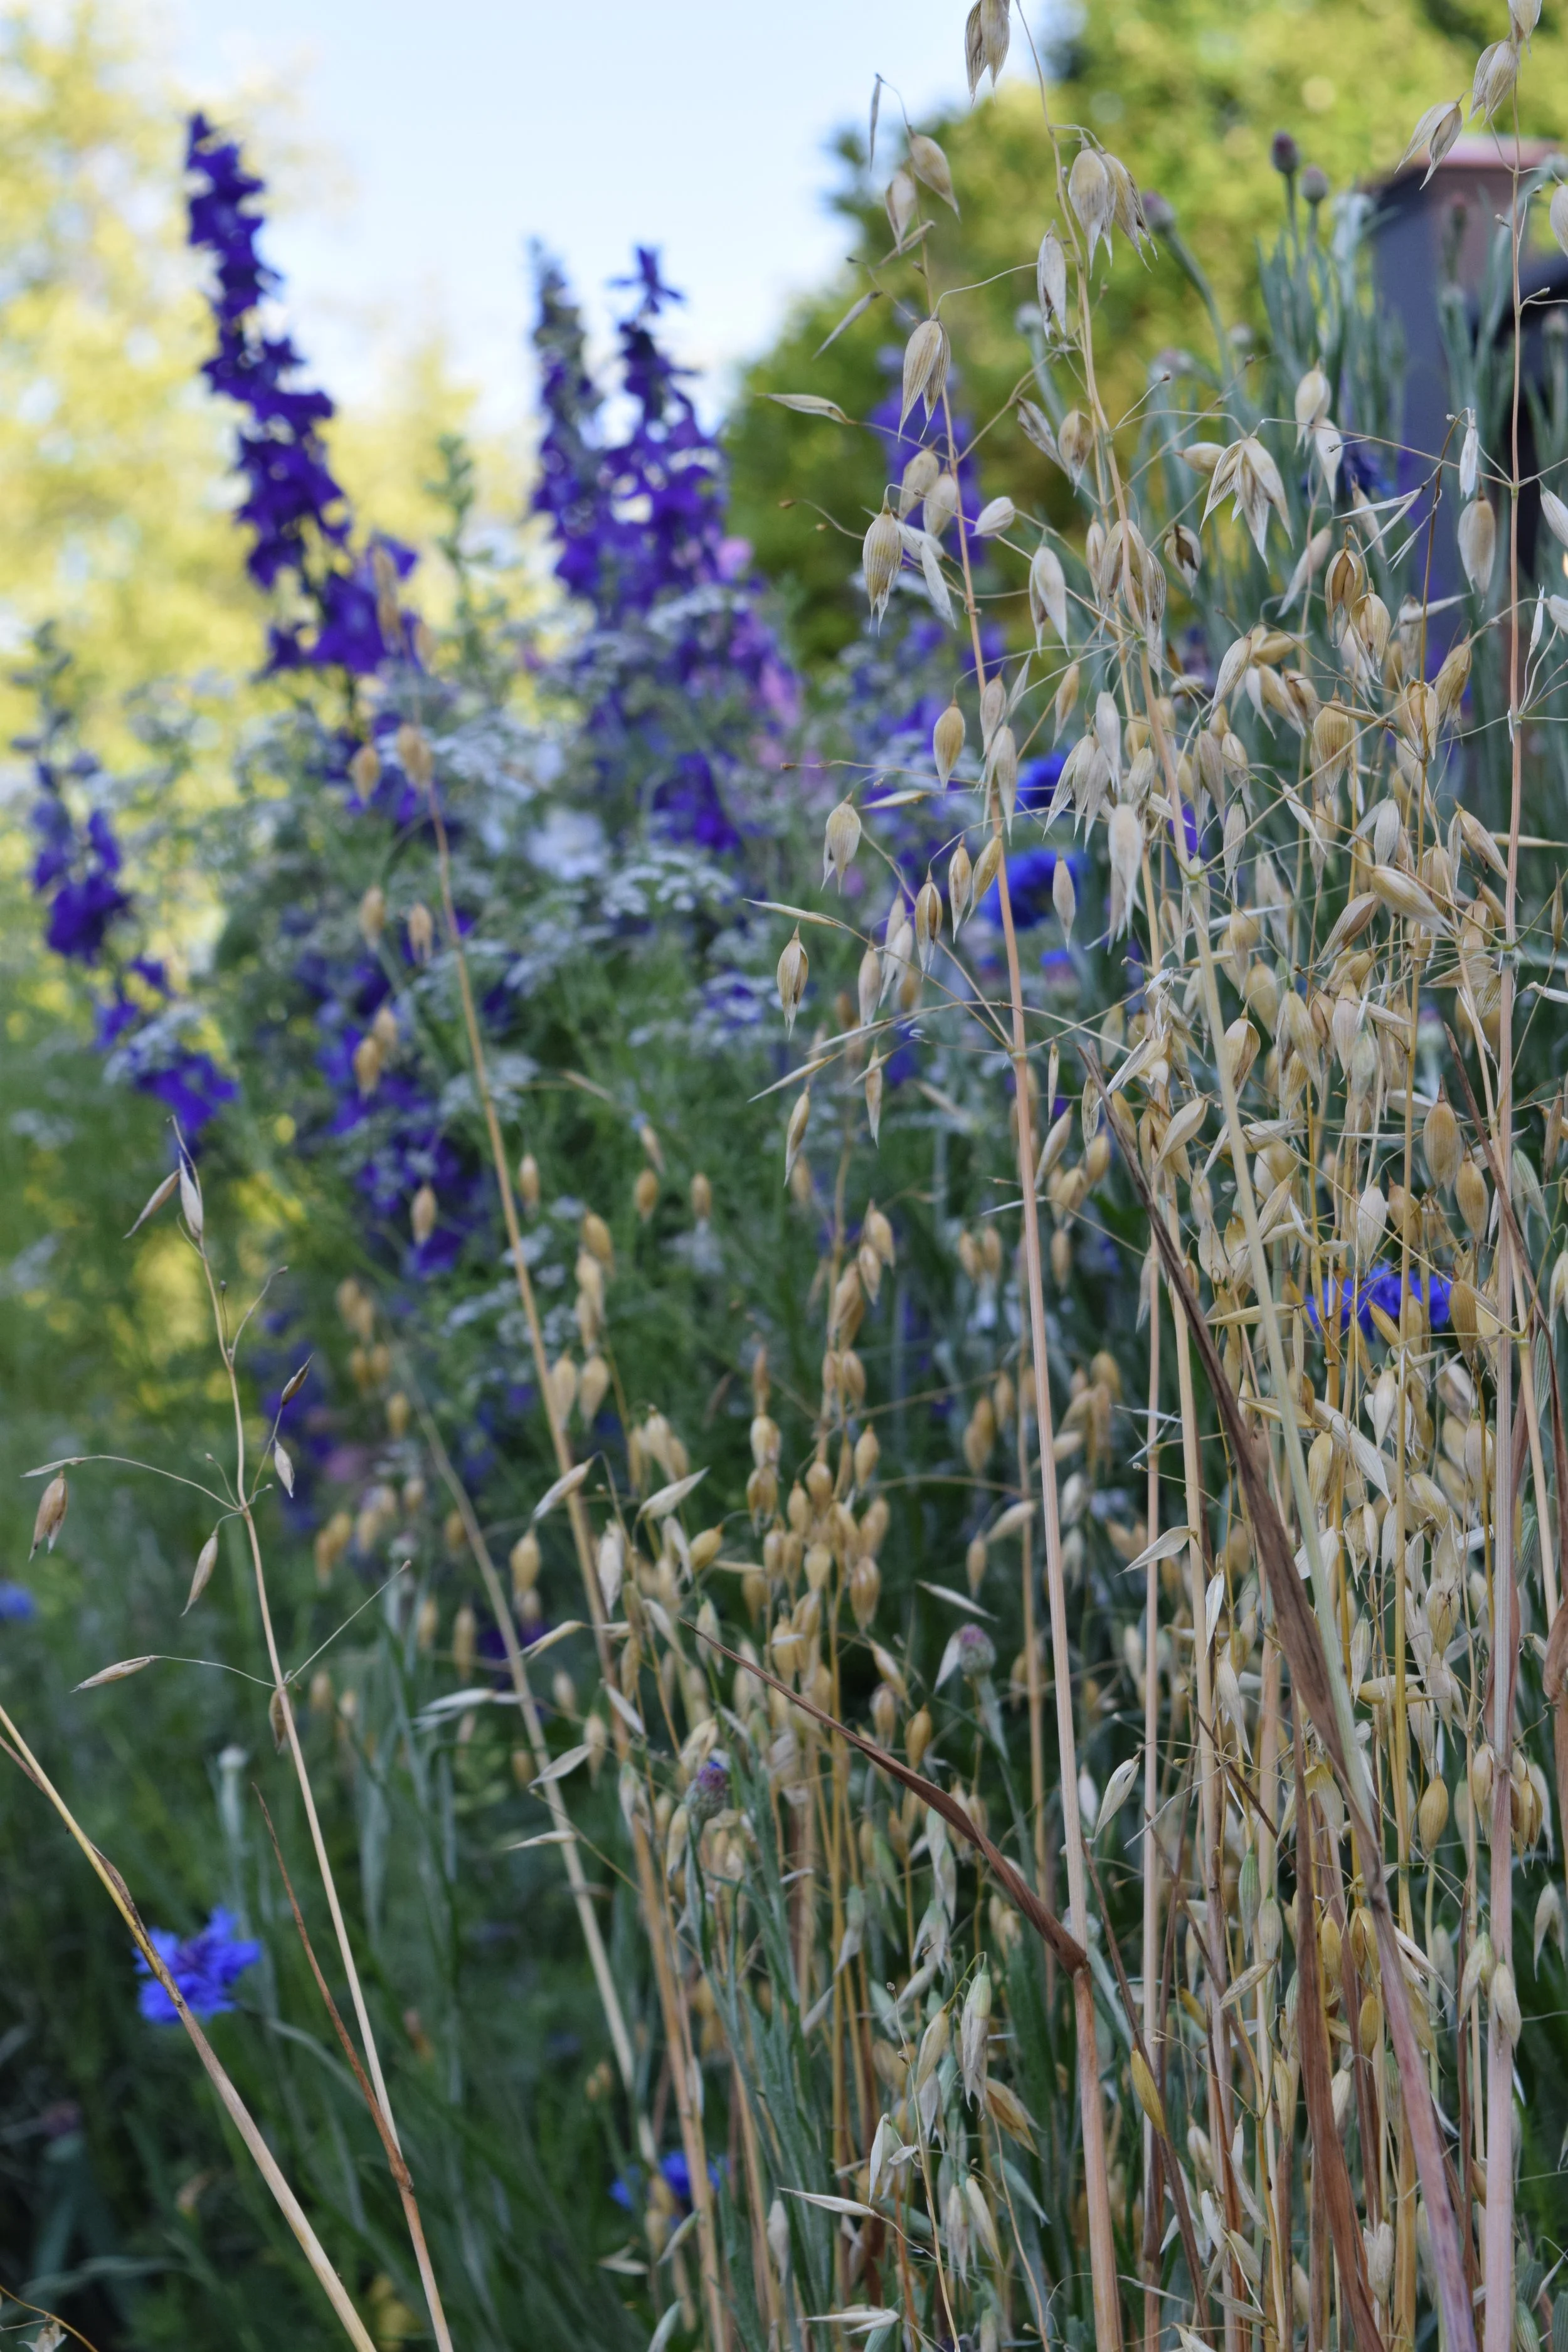
Grains (wheat, barley, rye, oats—great for structure and movement)
Lettuce (looseleaf types do best)
Mustard
Parsnips
Spinach
Swiss chard
Turnips
2. Soil Preparation is 99% of the process
Cottage gardens don’t need perfection. In fact, minimal disturbance supports better root establishment and lowers the chance for weed infestations. I prefer to layer organic matter on my beds, and NEVER recommend tilling, as that brings dormant weed seeds to the surface and disrupts important microbial activity. Most importantly, you do not need to remove the existing mulch- simply top-dress with compost. Mulch is meant to break down, adding organic matter.

I also like to layer fallen leaves in my beds right on top of the mulch before adding compost. We simply mow the fallen leaves and add the shredded bits and water them well. Then I add Veggie Mix and sow the seed!
Spread 1–4 inches of compost (I recommend Soil³) over the planting area, depending on the existing conditions.
Be sure to add code BRIEGROWS26 for additional savings on all big bags of Soil³ ordered.
Rake gently to create a crumbly, fine texture.
Avoid tilling; it brings up weed seeds and dries out the soil.
Water the bed evenly BEFORE you sow the seed. This will ensure the seed will not dry out or get covered before germination occurs.
3. Scatter seeds evenly
Direct seeding is delightfully imprecise and is what creates the ultimate “cottage garden” look where all the plants are mixed together, as if nature did it for you!
Mix seeds with a small amount of sand or compost to help distribute them.
Broadcast them by hand across the prepared surface.
Aim for a light, even spread as overseeding leads to crowding later.
Use the “bowling method” that I describe in my YouTube videos.
Do not bury poppies or larkspur deeply; both need light to germinate.
4. Water if it is dry and windy
We are in a dry era in the southeast, which means you will need to water through the winter season. If the soil dries out, your germination and establishment rates will reduce significantly. When your seedlings start to grow, they have shallow root systems. Be sure to not let the top 2” of soil dry out as that will cause the seedlings to die.
Water gently when conditions are dry, using a well distributed rose at the end of your hose or a sprinkler that provides good coverage for ample moisture.
Winter rain usually does the job, but you can’t count on it, so do not put your hoses away!
How often should you water? That is a million-dollar question that cannot be answered in a simple way. If the top inch of your soil is dry, that means you need to water to support the development of the seedlings.
5. Let winter do the work
Cool temperatures naturally stratify seeds like poppies and larkspur. If you purchase seed from me, they are all pre-stratified from being stored in the refrigerator from June - autumn sales.
Germination occurs during warm spells and often can take 2-4 weeks.
Seedlings stay compact through winter, developing strong roots and robust stems.
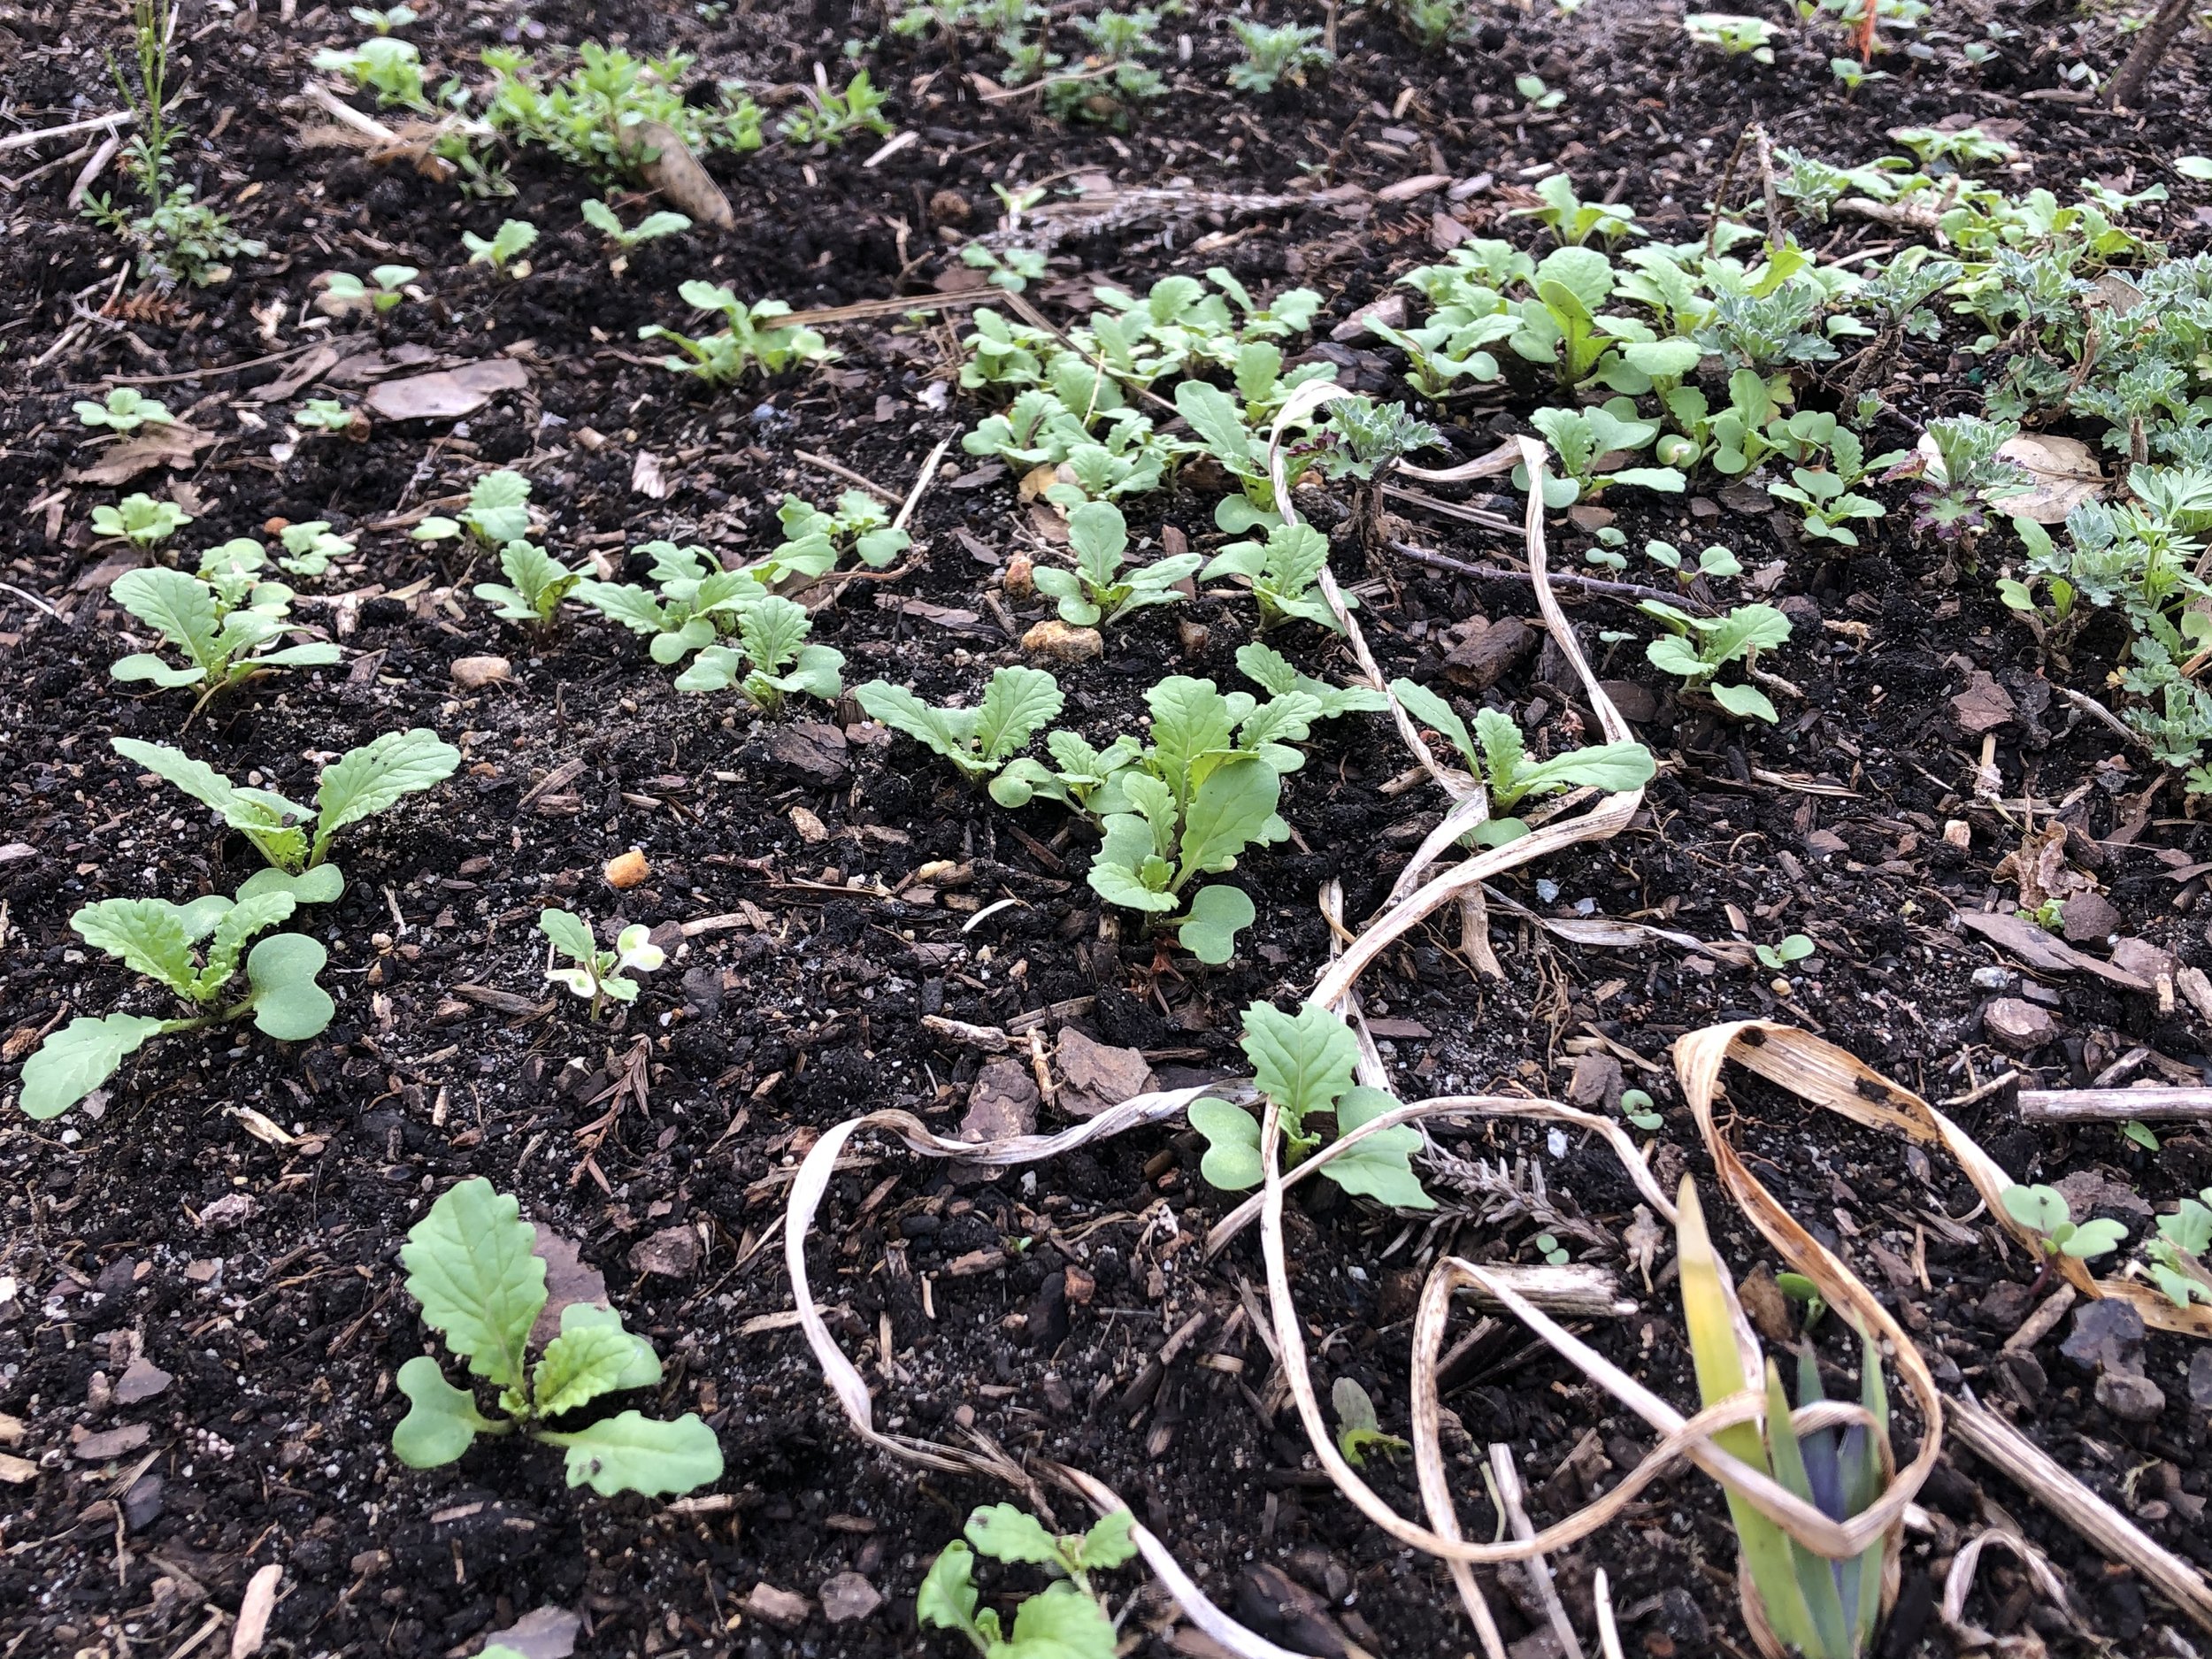
Below are recently srouted poppies which were sown in the December 6 cottage garden class. They started germinating exactly 3 weeks after being sown.

Though they are close together, I will NOT be thinning these! I am a strong believer in letting the plants figure it out!
6. Thinning- I DO NOT RECCOMEND, unless you have seeded too heavily
Overcrowding increases powdery mildew and reduces airflow, however too much space between plants allows them to flop over in spring rainstorms. Cottage gardens are supposed to be crowded so do not get too heavy handed when thinning or be like me and skip this step entirely! Hopefully you followed my instructions in step #3!
Broadcast them by hand across the prepared surface.
Aim for a light, even spread as overseeding leads to crowding later.
Use the “bowling method” that I describe in my YouTube videos.
A few years ago I did a thinning experiment, and it was a DISASTER! The area that I thinned ended up falling over and all the blooms were covered in dirt. Trust me, I give tried and true advice and wasting your time providing “perfect” spacing is not the best idea! Watch this video to learn from my mistake.
7. Enjoy low-maintenance beauty
By late March, April, and especially May your garden will erupt into a tapestry of color, texture, and movement. This will create a pollinator-friendly, budget-friendly, and wonderfully wild garden look! Now is the time to go outside with your morning cup of motivation and ENJOY THE MAGIC that you created from scattering seed in the cool season! Watch the video below to see how my cottage gardens turned out!
8. Harvest seed for next season
When to harvest
Wait until pods are fully dry on the plant.
Stems turn tan, pods feel papery, and you’ll hear the classic rattle when shaken.
This usually happens late spring to early summer in the Southeast.
How to harvest
Snip the entire pod with a few inches of stem.
Hold it upside down over a paper bag or bowl and shake gently.
Those little pores under the pod’s “crown” are nature’s saltshakers, exactly how poppies self-sow in your garden.
Brie-style tip
I often let some pods drop seed naturally and harvest others. This keeps that casual, cottage-garden look while still banking seed for intentional sowing elsewhere.
Storage
Let seed dry another week indoors.
Store in paper envelopes or glass jars in a cool, dark place.
Properly dried poppy seed stays viable 2–3 years, often longer.
Sowing Notes (the part that really matters)
Both poppies and larkspur prefer fresh seed and dislike transplanting.
Direct sow in December-February in North Carolina.
Bare soil + light press = success. No mulch, no covering as light helps germination.
Winter chilling (natural stratification) dramatically improves results.
This seed-saving rhythm of observe, wait, harvest, re-sow is a big reason cottage gardens become better every year. You’re not just saving seed; you’re selecting plants perfectly adapted to your soil, weather, and gardening style.